RFID-Controlled Doorlock
During our junior year we were tasked to create (as project in one of our subjects) something that incorporates an Internet of Things (IoT) device. We came up with an RFID-controlled doorlock using arduino technology.
Arduino features a microcontroller capable of making decisions based on the user's input. And of course those desicions are based on the logic of the program. If you want to learn more about how to program an Arduino, you can visit this link.
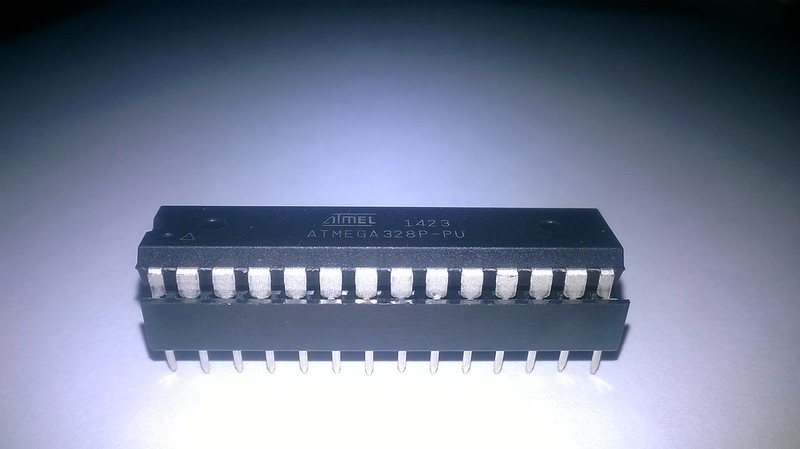
At the heart of every Arduino is an ATMEL 168/328 - an integrated circuit (IC) where you upload your program and it then controls (thus it is often reffered to as a microcontroller) how the Arduino reacts to its environment or the user's input. The model number represents the memory of the IC, 168 for 10KB and 328 for the 32KB version.
So, our project is composed of three main parts: the controller, the reader and a solenoid. The controller is the Arduino and the reader, an RFID reader we bought at E-Gizmo.The reader is then composed of a coil - which is The Reader - and a card - the one to be read.
The solenoid is a doorlock that the Arduino controlls - to give access or make the door open-able or not.
How does it work?
The project works like this:
- A user taps his RFID card,
- The reader...reads the card - it contains a serial number,
- The serial is then passed to the Arduino and
- The Arduino compares the serial number to the serial number coded to it then decides wether the solenoid lock should be open-abe or not.
Sounds simple huh? But there's a twist to our project.
We are not allowed to use an Arduino. I mean, we have to make our own.
Here's a demo of the project:
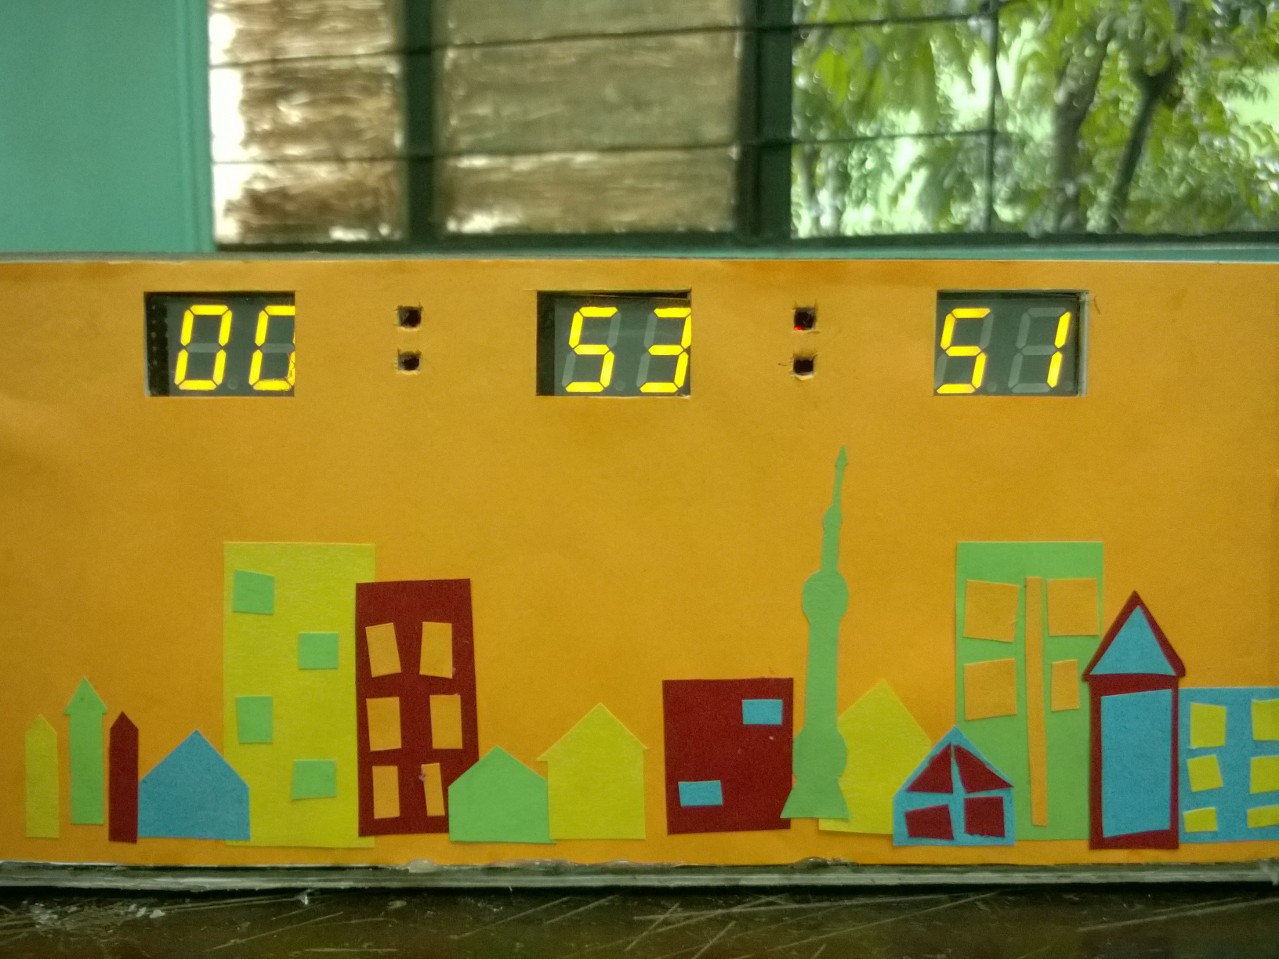
Digital Clock
In our senior year we had a project to create a digital clock using only TTL (transistor-transistor logic) integrated circuits.
You know how digital clocks work. It's just that, after I've done one with this project I've realized that making one is difficult.
| < |